How to use bitbucket with git
Introduction: Git is a distributed version control system that tracks changes in any set of computer files, usually used for coordinating work among programmers collaboratively developing source code during software development.
Create Account: Create and verify bitbucket account.
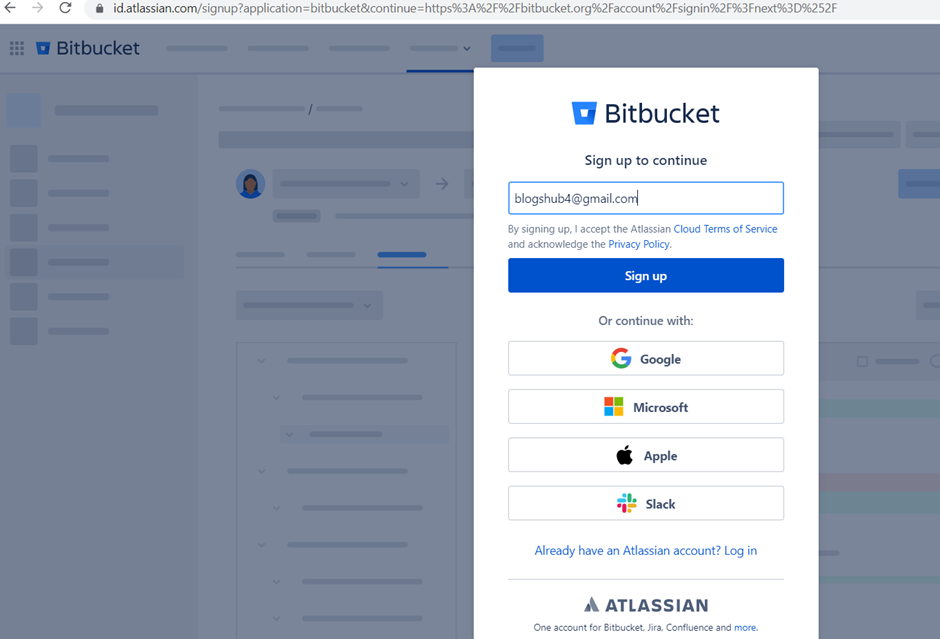
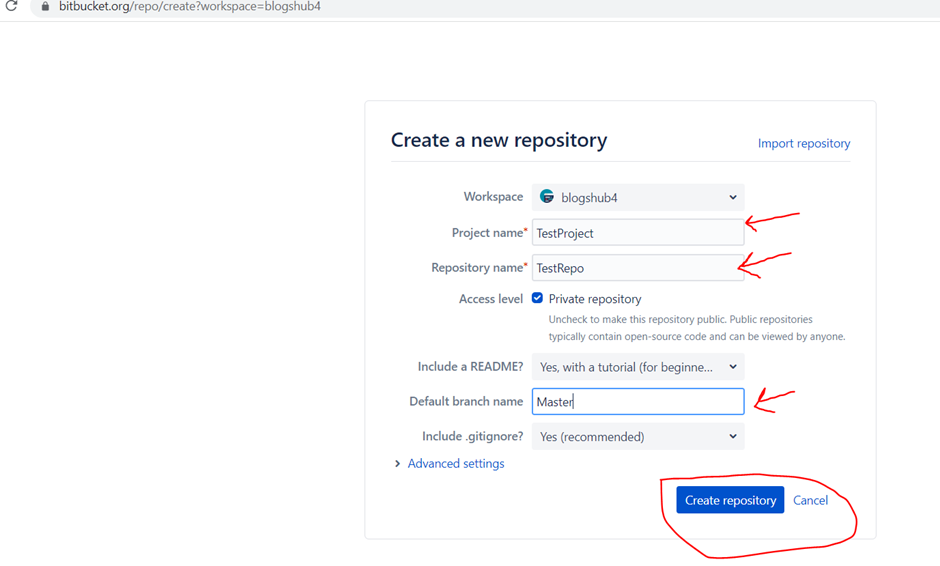
Create repository: Login In your bitbucket account andClick on “Create repository” button.

Enter Project name, Repository name and default branch name then click on create repository button.
Install Git Bash in local machine:
Configure the user/author name and email address to be used with your commits
git config --global user.name "yourbitbucketusername"
git config --global user.email "useremail@gmail.com"
How to check:
git config --global --list
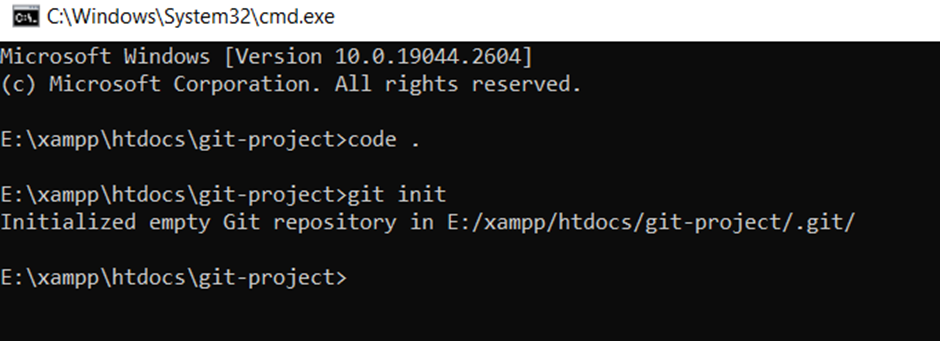
git init: is used to create new local repository (Initializes), git init command will create a .git directory inside your project.
- git init
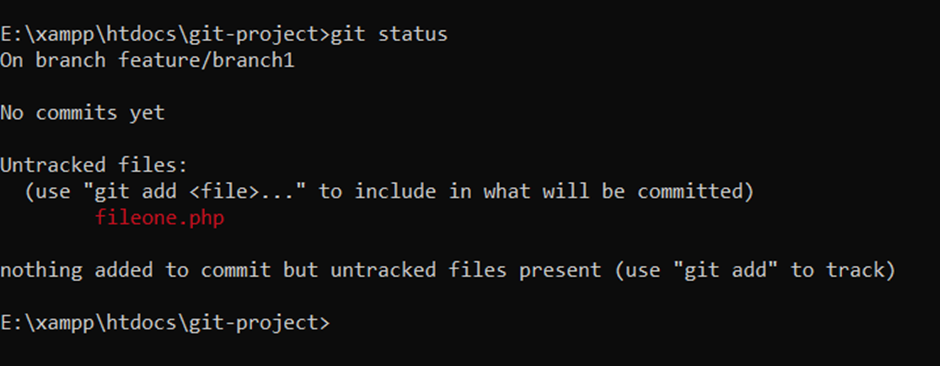
git status: git status is used to list the files you’ve changed and those you still need to add or commit.
- git status
git add: is used to add one or more files (staging).
- git add .
- git add filename filename2 …
git commit: is used to commit all your changes.
- git commit –m “commit message”

git remote add origin: git remote add origin is used to connect your local repository to a remote server
- git remote add origin https://blogshub@bitbucket.org/blogshub4/testrepo.git

git branch: git branch is used to list all the branches which you are using in your repo.
- git branch

git push: git push is used to send the changes to the remote repository.
- git push origin –u <branchname>
git checkout <branchname>: git checkout is used to switch from one branch to another branch.
- git checkout <branchname>
git pull: git pull is used to fetch and merge changes in your working/local director
- git pull origin feature/newbranch
git diff: git diff is used to check the changes of the file.
- git diff .
git clone <path>: git clone is used to take the clone of repo in your local system.
git clone https://blogshub@bitbucket.org/blogshub4/testrepo.gitgit branch -d <branchname>: is used to delete the feature branch.
- git branch -d <branchname>
Pull request: How to make a pull request? After pushing your code to your local repository you have to make a pull request to merge your code to the real repository. To do that just go to your local repo and click on the create pull request.
git revert: For revert (undo) commit to local repo .
git add .
git comit -m "msg"
git log
git revert commitid
press ctrl c
:qa! Enter
Git Using VS Code
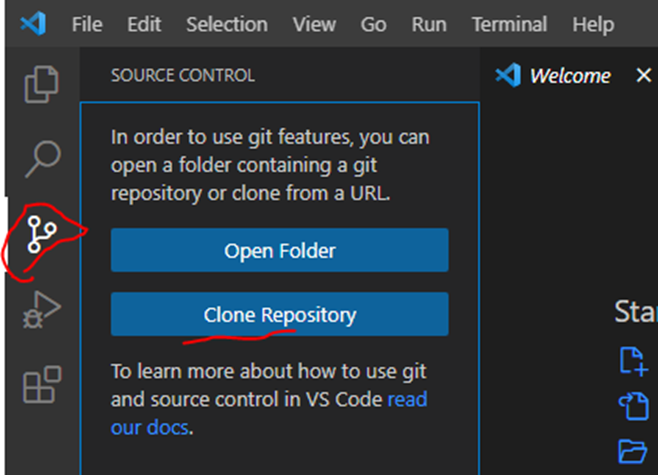
git clone: Open new window in VS Code, click on “Source Control” or press CTRL + Shift + g and enter your clone URL.
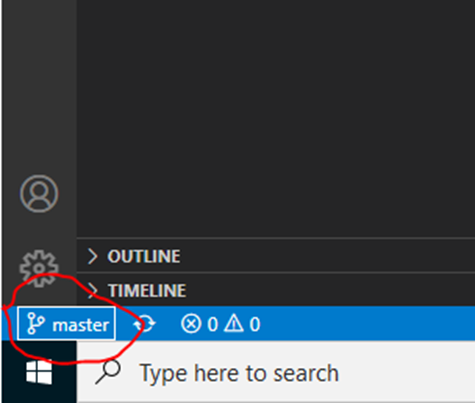
Checkout Branch: Click on git icon (bottom left side)then select branch
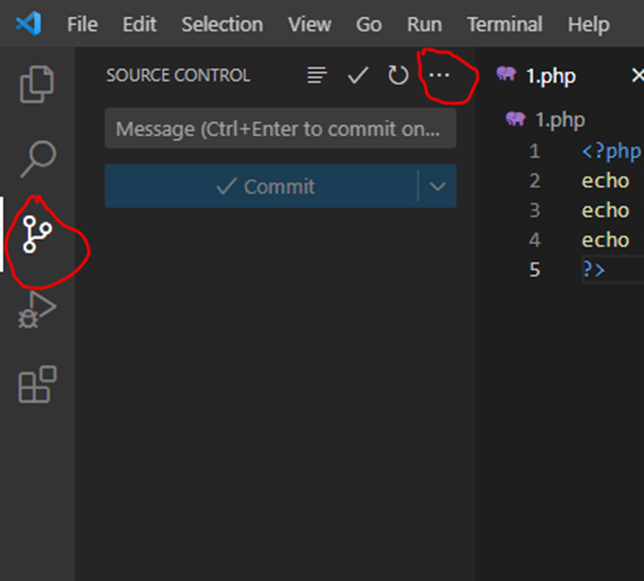
Other Commands (Push, Pull, Merge, Checkout): Click on source control then click on three dot on top.
How To Generate SSH Key:
Run below command and enter for file path and password.
ssh-keygen -t rsa -C "Yourregisteremail"

Go in .ssh folder and open public file then copy ssh-rsa key and save it in SSH Key textarea.
Keep Learning 🙂
Good post. I learn something totally new and challenging on blogs daily basis. Its always useful to read content from other authors and practice something from their websites.
Excellent blog post. I certainly love this website. Keep it up!
I think this iis one of the most significant info for me.
And i am glad reading your article. But should remark on few general things, The website style is perfect, tthe articles is really excellent :
D. Good job, cheers
Hi, I ddo believe this iis a great site. I stumbledupon it
😉 Iam going to return yet again since I saved as a favorite it.