Upload File with Progress Bar Using Laravel and Ajax
With this post we will learn how to upload file with Progress Bar in Laravel using Ajax.
We will cover how we can upload any type of file using ajax and store it
Steps for upload file with Progress Bar using Laravel
Step 1: Install Laravel application
Step 2: Create Controllers
Step 3: Create Routes
Step 4: Create View
Step 5: Run application and Upload file
Install Laravel :
Using composer we can install laravel , go in xampp, open CMD and run below command
composer create-project laravel/laravel --prefer-dist uploadfile-withprogressbar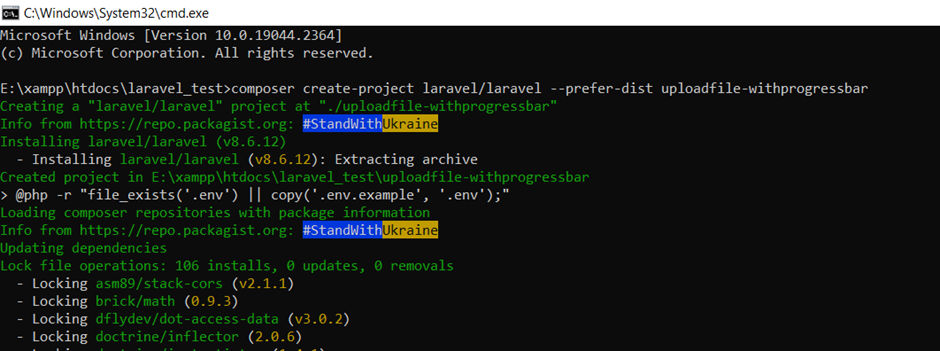
Get in laravel application
cd uploadfile-withprogressbar
Step 3: Creating Controllers
Now, we have to create a Controller for handle the file upload and display view.
Create a controller with name UploadFileController.php inside app/Http/Controllers/ directory. Run below command for Controller
php artisan make:controller UploadFileController
<?php

namespace App\Http\Controllers;

use Illuminate\Http\Request;

class UploadFileController extends Controller
{
    public function index()
    {
        return view('fileUpload');
    }

    public function store(Request $request)
    {
        $request->validate([
            'file' => 'required',
        ]);

        $fileName = time().'.'.request()->file->getClientOriginalExtension();
        request()->file->move(public_path('files'), $fileName);

        return response()->json(['success'=>'File uploaded successfully!!']);
    }
}
Step 3: Create Routes
Now, We have to create routes inside routes/web.php one is for displaying views for upload file and the second one is for processing file.
<?php

use Illuminate\Support\Facades\Route;
use App\Http\Controllers\UploadFileController;
/*
|--------------------------------------------------------------------------
| Web Routes
|--------------------------------------------------------------------------
|
| Here is where you can register web routes for your application. These
| routes are loaded by the RouteServiceProvider within a group which
| contains the "web" middleware group. Now create something great!
|
*/

Route::get('/', function () {
    return view('welcome');
});

Route::controller(UploadFileController::class)->group(function(){
    Route::get('uploadfile', 'index');
    Route::post('storefile', 'store')->name('store.file');
});
Step 4: Create View blade file
Now we have to create a view file to display our form with progress bar.
Create a fileUpload.blade.php file inside resources/views.
<!DOCTYPE html>
<html>
<head>
    <meta charset="utf-8">
    <meta name="viewport" content="width=device-width, initial-scale=1">
    <title>Upload File</title>
    <link href="https://cdn.jsdelivr.net/npm/bootstrap@5.0.1/dist/css/bootstrap.min.css" rel="stylesheet">
    <script src="https://ajax.googleapis.com/ajax/libs/jquery/3.3.1/jquery.min.js"></script>
    <script src="https://cdnjs.cloudflare.com/ajax/libs/jquery.form/4.3.0/jquery.form.min.js"></script>
</head>
<body>
    <div class="container mt-5" style="max-width: 900px">
        <div class="p-4 text-center mb-2">
            <h2 class="text-black m-0">Upload File</h2>
        </div>
        <div class="row">
            <div class="col-12">
                <div class="alert alert-success success__msg bg-light" style="display: none; color: white;" role="alert">
                    Uploaded File successfully.
                </div>
            </div>
        </div>
        <div class="card bg-transparent border rounded-3 mb-5 p-5">
            <form id="UploadfileID" method="POST" action="{{ route('store.file') }}" enctype="multipart/form-data">
                @csrf
                <div class="form-group mb-3">
                    <input name="file" type="file" class="form-control">
                </div>
                <div class="form-group">
                    <div class="progress">
                        <div class="progress-bar progress-bar-striped progress-bar-animated bg-dark" role="progressbar" aria-valuenow="0" aria-valuemin="0" aria-valuemax="100" style="width: 0%"></div>
                    </div>
                </div>
                <div class="d-grid mt-4">
                    <input type="submit" value="Upload File" class="btn btn-light">
                </div>
            </form>
        </div>
    </div>
    <script>
        $(function () {
            $(document).ready(function () {
                var message = $('.success__msg');
                $('#UploadfileID').ajaxForm({
                    beforeSend: function () {
                        var percentage = '0';
                    },
                    uploadProgress: function (event, position, total, percentComplete) {
                        var percentage = percentComplete;
                        $('.progress .progress-bar').css("width", percentage+'%', function() {
                            return $(this).attr("aria-valuenow", percentage) + "%";
                        })
                    },
                    complete: function (xhr) {
                        console.log('File has uploaded');
                        message.fadeIn().removeClass('alert-danger').addClass('alert-success');
                        message.text("File Uploaded successfully.");
                        setTimeout(function () {
                            message.fadeOut();
                        }, 2000);
                        form.find('input:not([type="submit"]), textarea').val('');
                        var percentage = '0';
                    }
                });
            });
        });
    </script>
</body>
</html>
Run Application
php artisan serveAccess route “/uploadfile”
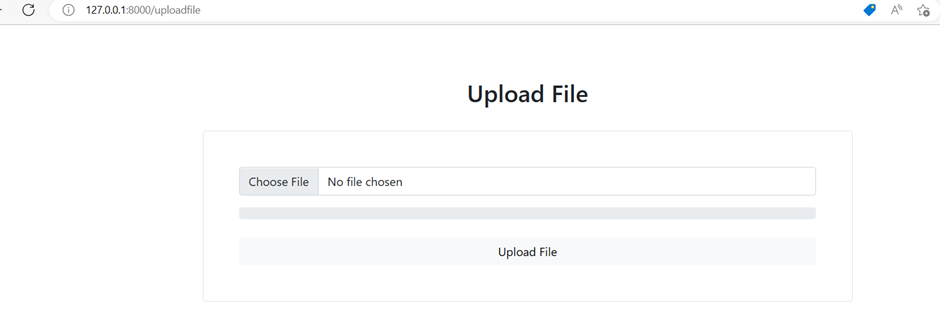
Choose any file and click on “Upload File” button
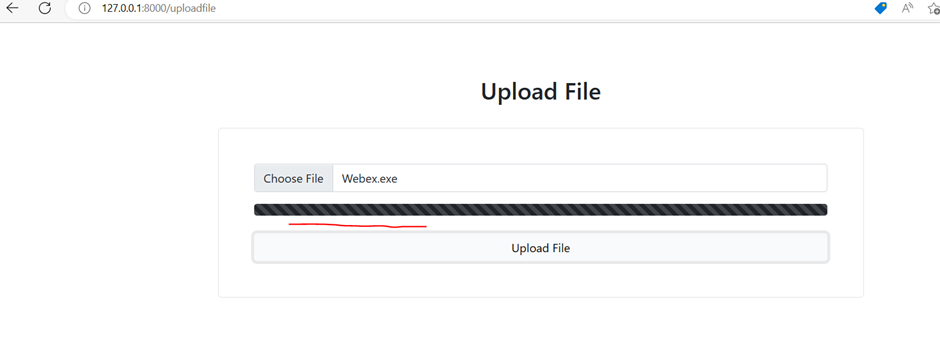
Check your path/folder